How to Give Your Pillow a Christmas Makeover With the Help of Your Kids
Today was a rainy day for us which luckily doesn’t happen often. And when it does, there is admittedly a small amount of panic when you realize you are confined to 4 walls with 2 small children with lots of energy.
I try to quickly come up with a plan, or better word- outline- for what we want our ‘inside’ day to look like and 90% of the time we make the best of it.
So today was craft day. And after a few coloring projects and realizing I wanted in on the craft time fun, we decided to give our front porch rocking chair pillows a Christmas makeover. Even though sea stars and seahorses are normally our jam, they just weren’t quite jiving with their fellow outdoor Christmas decorations.
So here is what we started with:
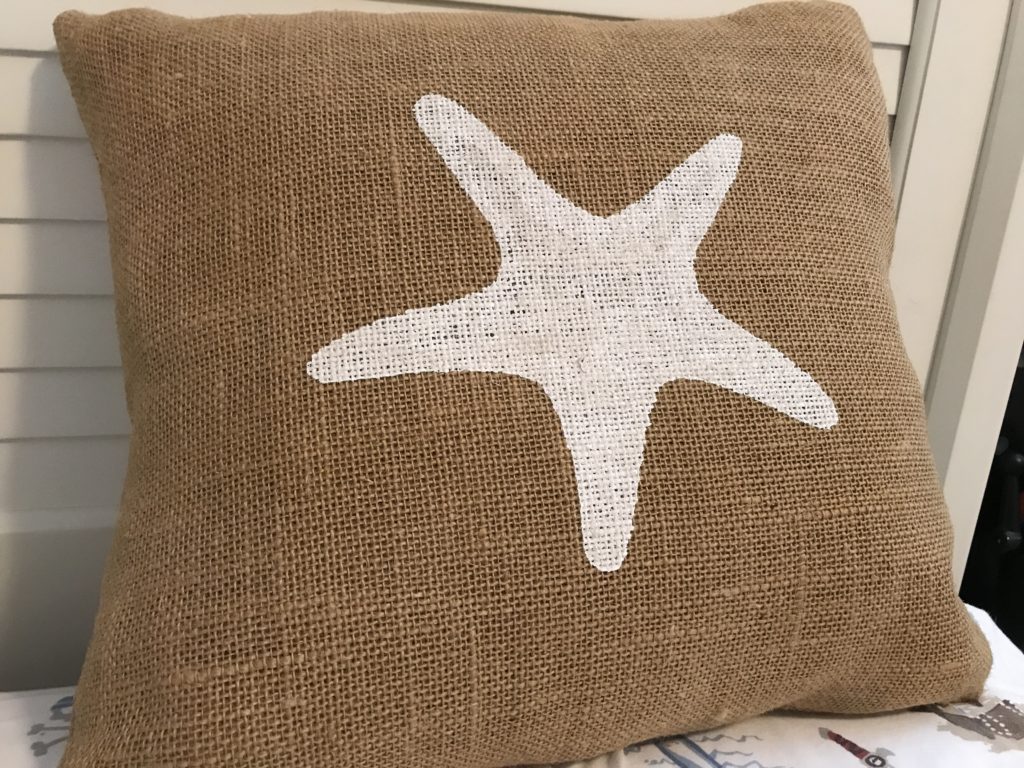
This originally was a blue pillow a neighbor friend was giving away and over the summer I gave it a makeover. First I DIY stencil painted the burlap using this great tutorial here:
http://powerofpaint.net/2012/03/09/freezer-paper-can-be-a-painters-bff/
Then I used part of this tutorial to learn how to turn the burlap into a pillow cover:
https://www.thesitsgirls.com/diy/how-to-make-a-burlap-pillow/
I love it. But it needed to get in the Christmas spirit.
So up to the playroom me, #2, #3 marched with the pillows in tow. Which is also home to my closet office and ribbon collection and a fine place for #3 to self-entertain. I picked out a few Christmas-appropriate ribbon spools and let Rapunzel (see Seas the Crazy’s FB post from 12/5/17. It’s worth your time.) make the final call on which ribbon we should use. Then, when she chose the white lace ribbon I got all googly-eyed because burlap and white lace speaks to my soul. Anyways-
Step 1: We tied it on like we were wrapping a present, but with the closure in the back (the original front front, where the sea star is).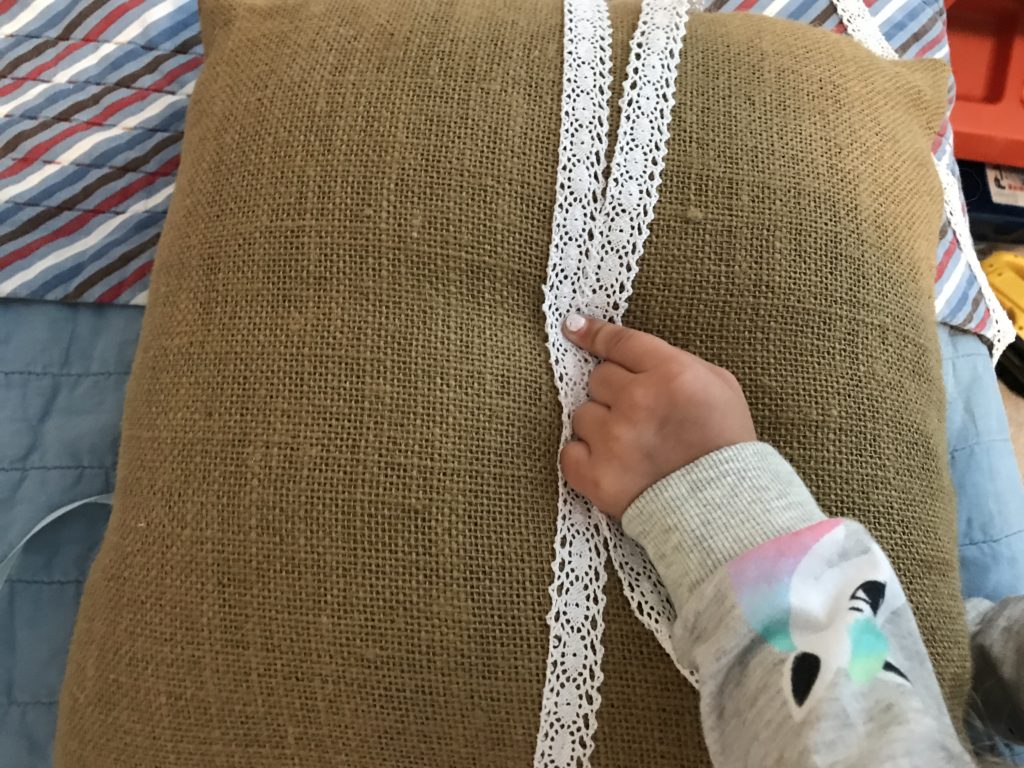
So then it looked like this:
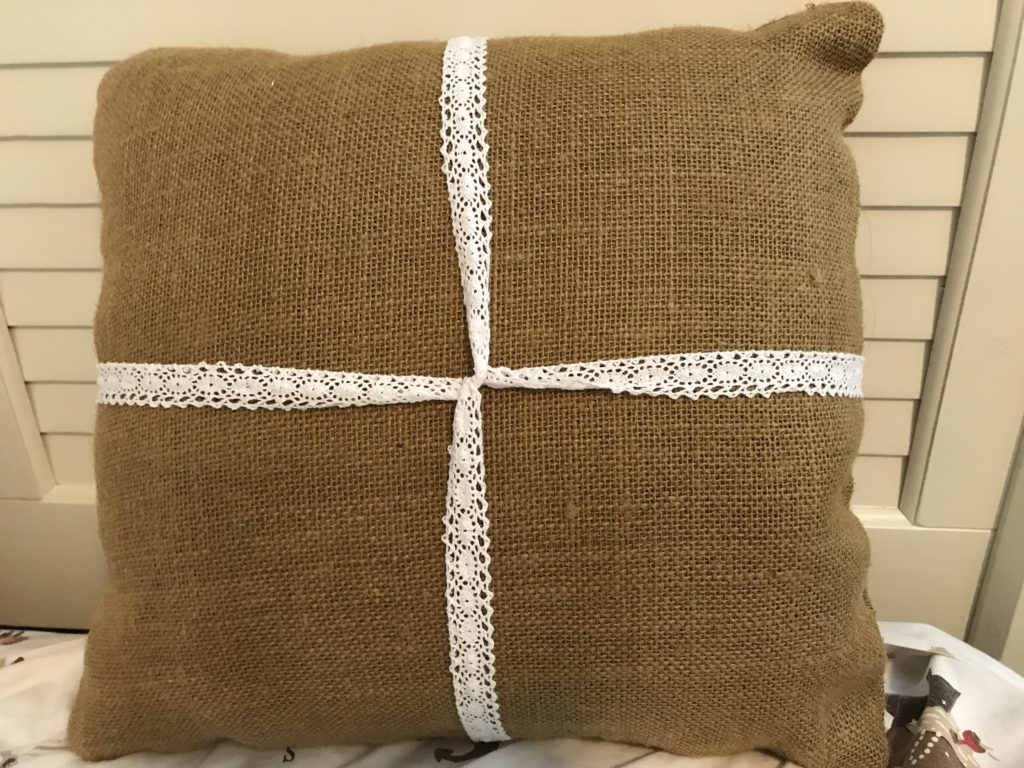
Step 2: Accessorize
Since we went with white, we knew we needed to add some Christmas colors. So we went on a scavenger hunt. Ultimately, we marched back downstairs, snipped some evergreen leaves off of my fresh pine Costco Christmas wreath and slid it under the ribbon.
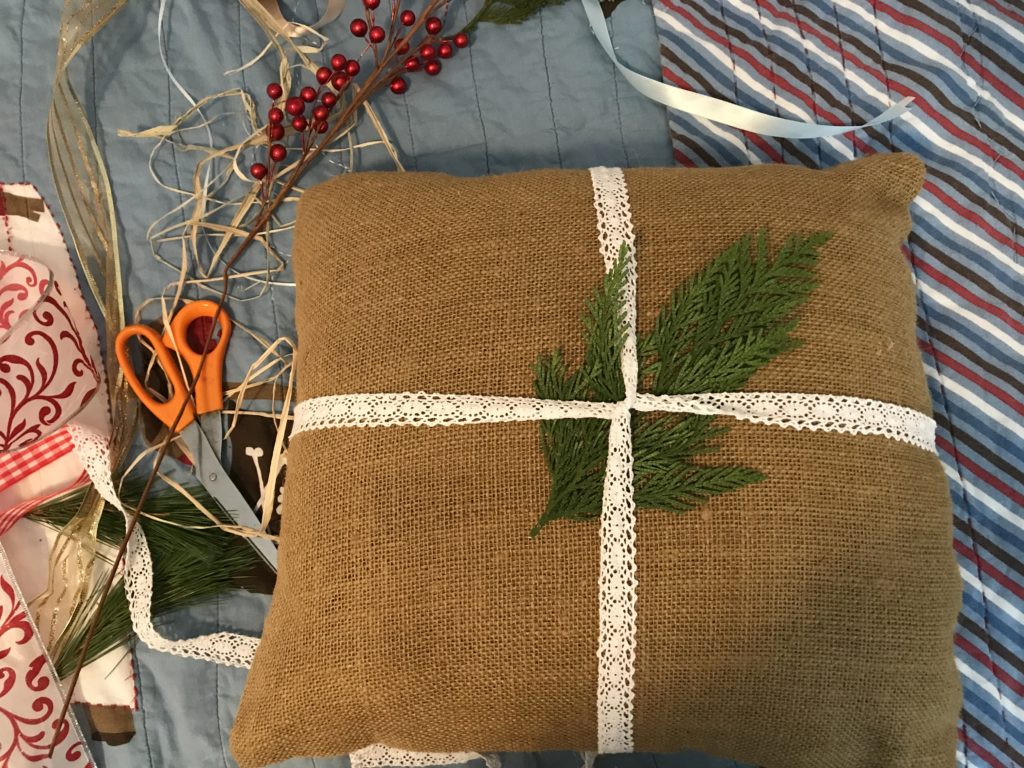
Any kind of evergreen will do here. Worst case scenario- snip a small piece of branch off of your Christmas tree. Artificial or real, I promise it won’t even miss it!
Next came the fake berries. I cut a section off of a branch #3 found in a vase downstairs and slid it in with the greens.
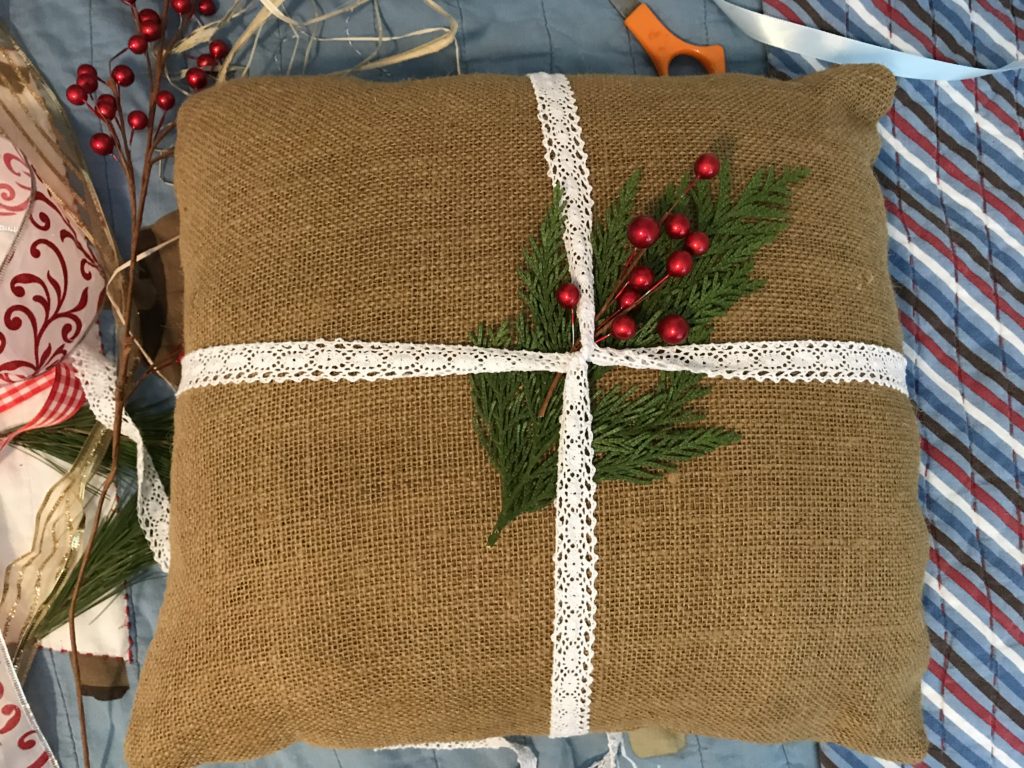
Step 3: Secure
Although our accessories are pretty secure in there, we added one more thing just to be sure. And because everything is better with a bow on it. And voila! #2 lit up with pride and #3 felt like such a big girl putting one of them back on the rocking chair.
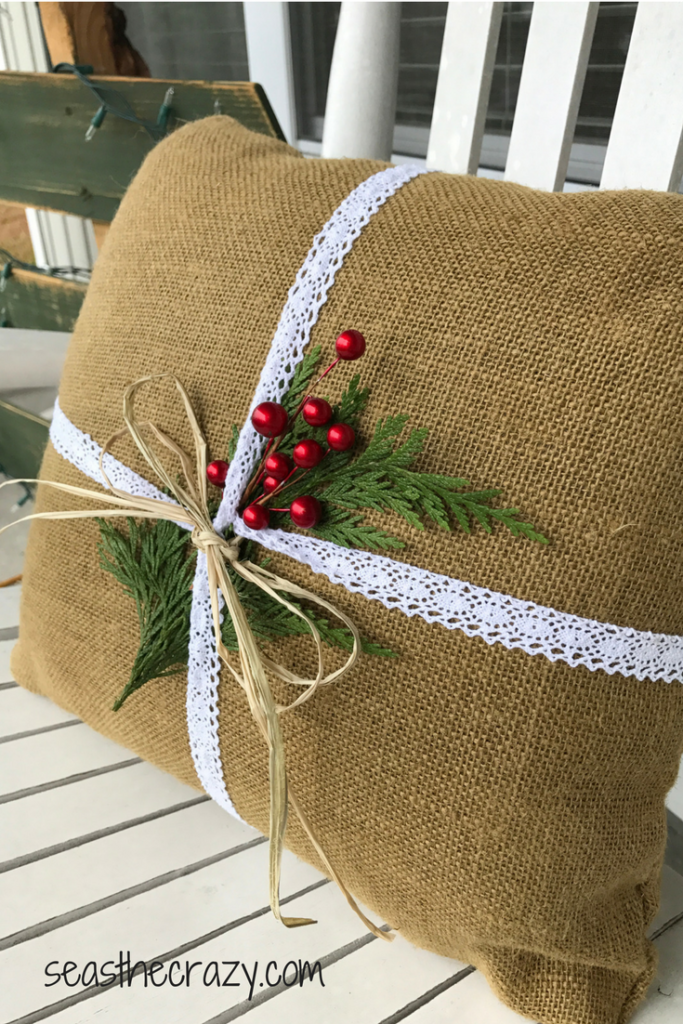
Now that’s the Christmas spirit!
I’m sure you’re smart enough to have figured this out without the step-by-step guide, but wasn’t it fun to make the best of being stuck inside and pulling together things we already had?! If you’re feeling inspired and give it a try, please share! I would love to see yours too!
Now on to snack time!

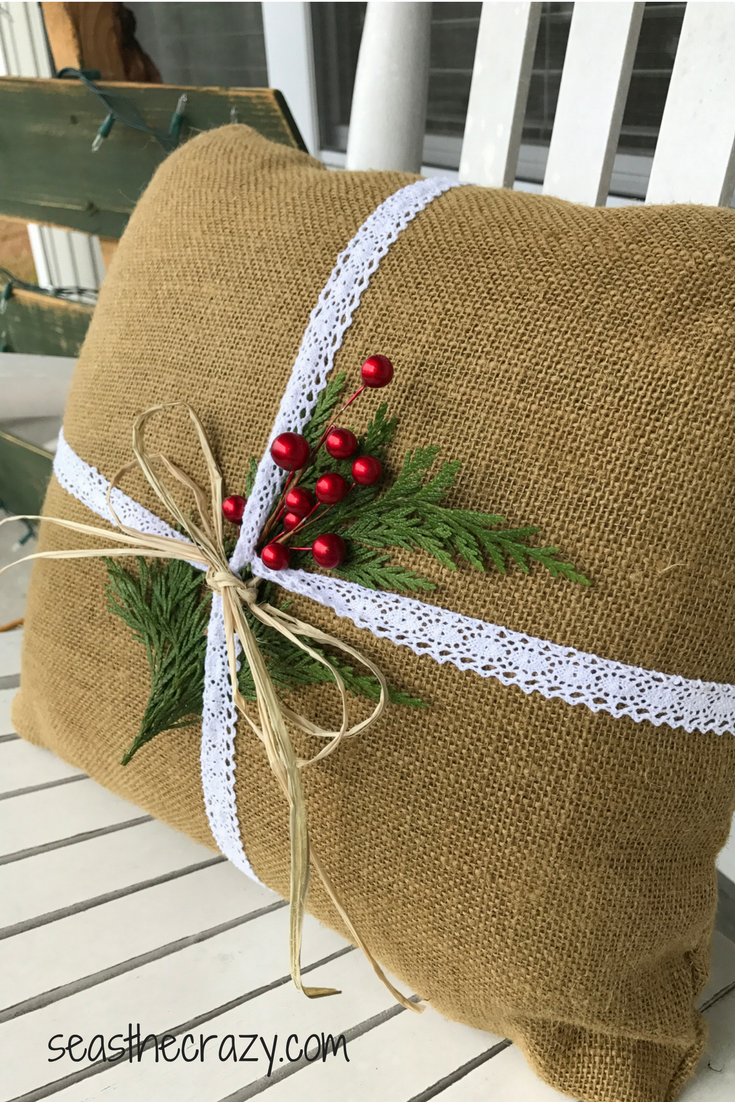
Lovely craft