
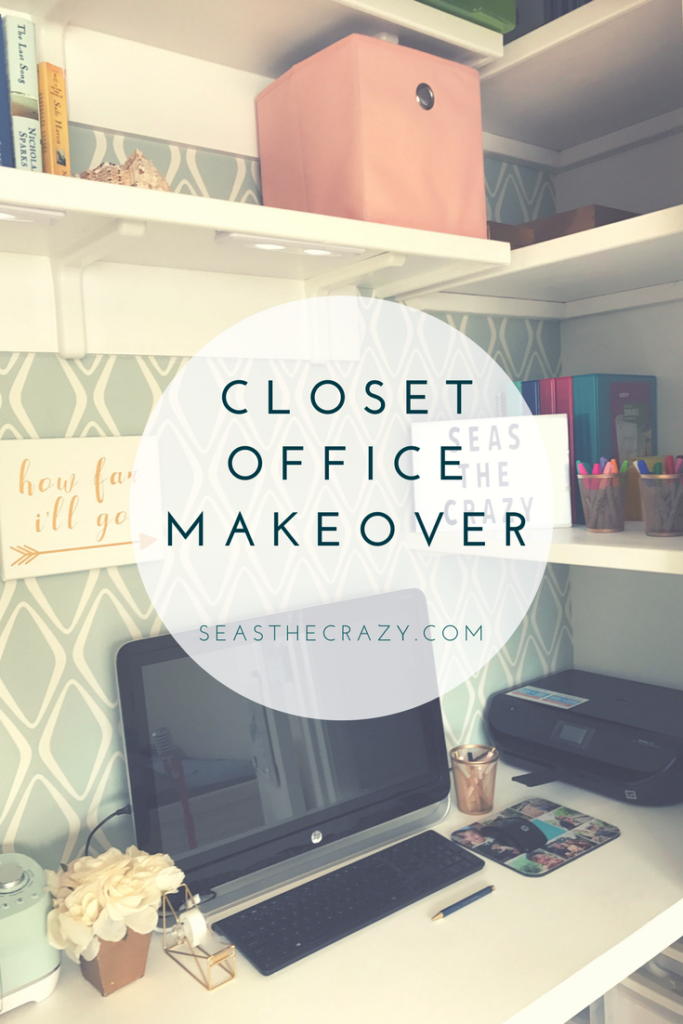
This post contains affiliate links. This just means that if you make a purchase through any of the post links, I may earn a small commission at no extra cost to you. See my full disclosure here.
Today, I am {finally] inviting you into my new happy place. My new and improved closet office. But because it is so important to always remember where you came from, let’s start there. Before the closet office makeover.
This.
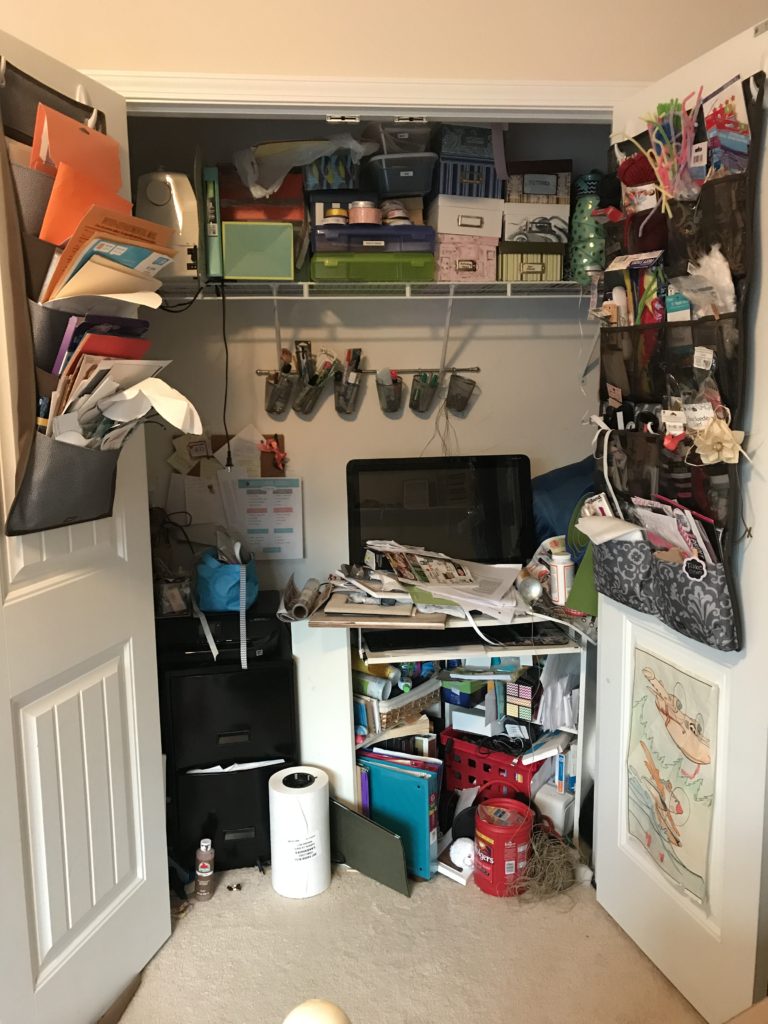
This is where my ‘finished thoughts’ happened. How you ask? I know! But if Pixar wanted to do an Inside Out movie of my brain on kids, I feel like they could use this to set the scene. I hang my kids’ clothes in their closet in rainbow order {stop it, I know I have a problem} but because I’m the only one that is affected by this space, I have allowed it to be neglected for so long. But not now. I’m putting my foot down. That and because Santa surprised me with a Cricut for Christmas and I really needed a place to put it. So, I gathered my dream team, a.k.a. my Dad was visiting, and I put him and the hubby to work.
I proposed my list of requirements:
- A large, seamless work space
- A way to expand the work space when needed
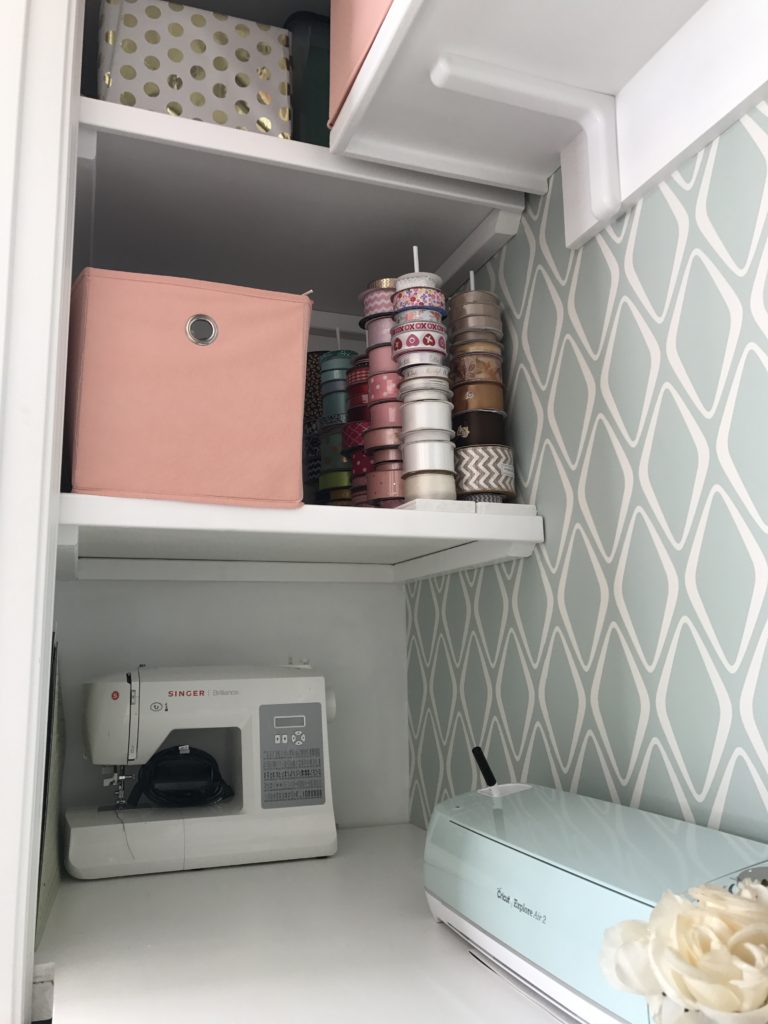
- Designated room for my essentials- computer, printer, sewing machine, Cricut
- Shelves for organization
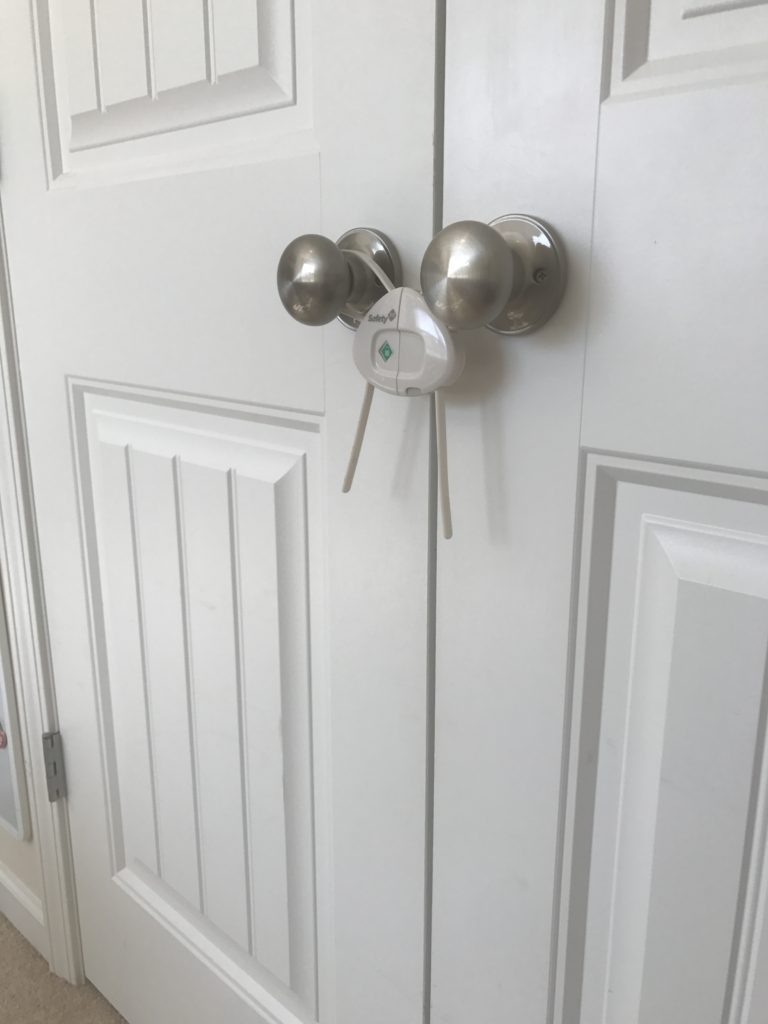
- Room for the chair to be closed in and the doors to lock. No tiny fingers allowed. (Super important because this closet is in the play room.)
- As budget-friendly as possible.
- Last but not least, it had to be pretty (duh!)
Of course, we started by clearing out the closet. So. Much. Stuff. And took a good look at what we were working with. My favorite part about this is was that we realized the wire shelf we were removing would fit perfectly in our master walk-in closet. And just like that I bought myself another closet makeover. Winning!
But let’s focus.
We sat in the empty closet for a while and did a lot of head scratching and pursed-lip head nodding and shaking. And then after two full days of convincing my Dad we were NOT knocking down any walls, we had a plan. Exciting!!
Now at this point, I let the boys do their thing and did my best to keep kids from eating nails and playing with power tools. {Not easy.} So I really can’t tell you much about the logistics of what happened next. I would only pop my head in to snap pictures and tell them what they were doing wrong. I mean encourage them and bring them a sweet tea.
But luckily the boys were thoroughly instructed to write down everything they were doing and to pause for pictures, and they obliged! Come to think of it, I really should have brought them sweet teas. Poor guys. And on top of that my rock star husband agreed to write me the husband’s version of the closet makeover. The one that includes supplies, measurements, tips, boy talk, etc. And you can find that here. And now a small clap for his blog debut! All to make it easier for your husband to build one for you. 😉
But for now, I’ll continue talking about the fun part.
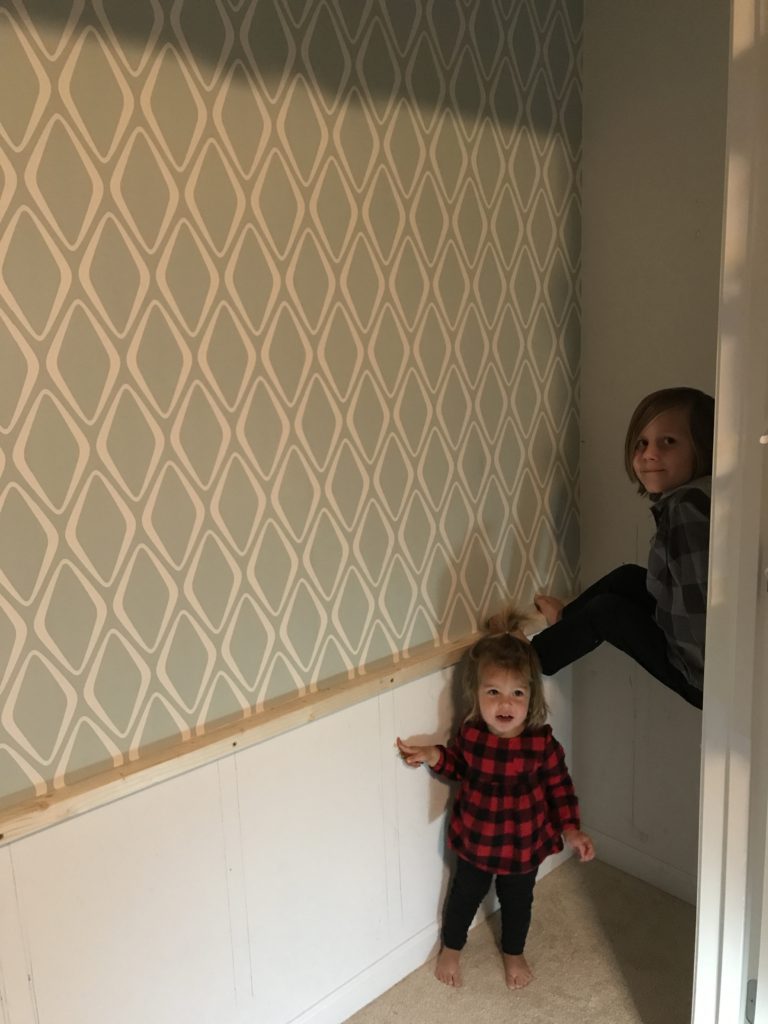
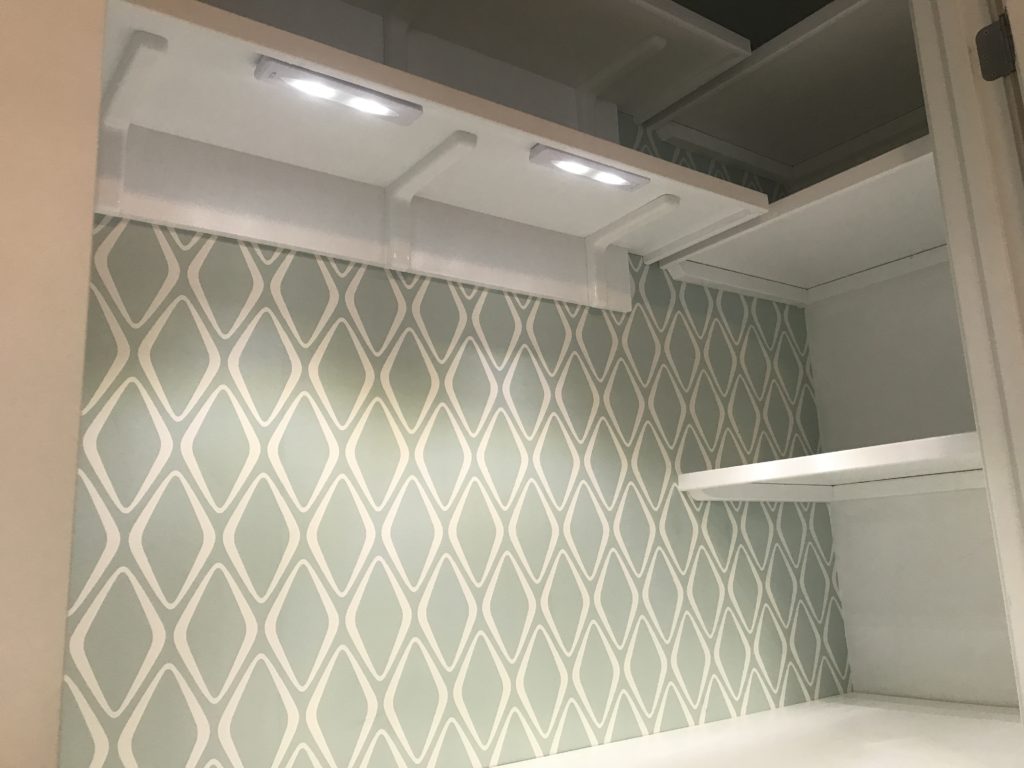
I knew I wanted a fun, relaxing color, but I didn’t think paint would be enough to achieve the look I had in mind. And then I found this. Peel and stick repositionable wallpaper. Similar to this here. Perfect. For budgeting purposes, we chose to only take it from the ceiling to the desk top. Knowing that only a small amount of the remaining back wall would be seen once everything was in place.
There’s #3, probably chewing on a nail. Whoops! And number #2 is more than likely sneaking bubble gum in the corner.
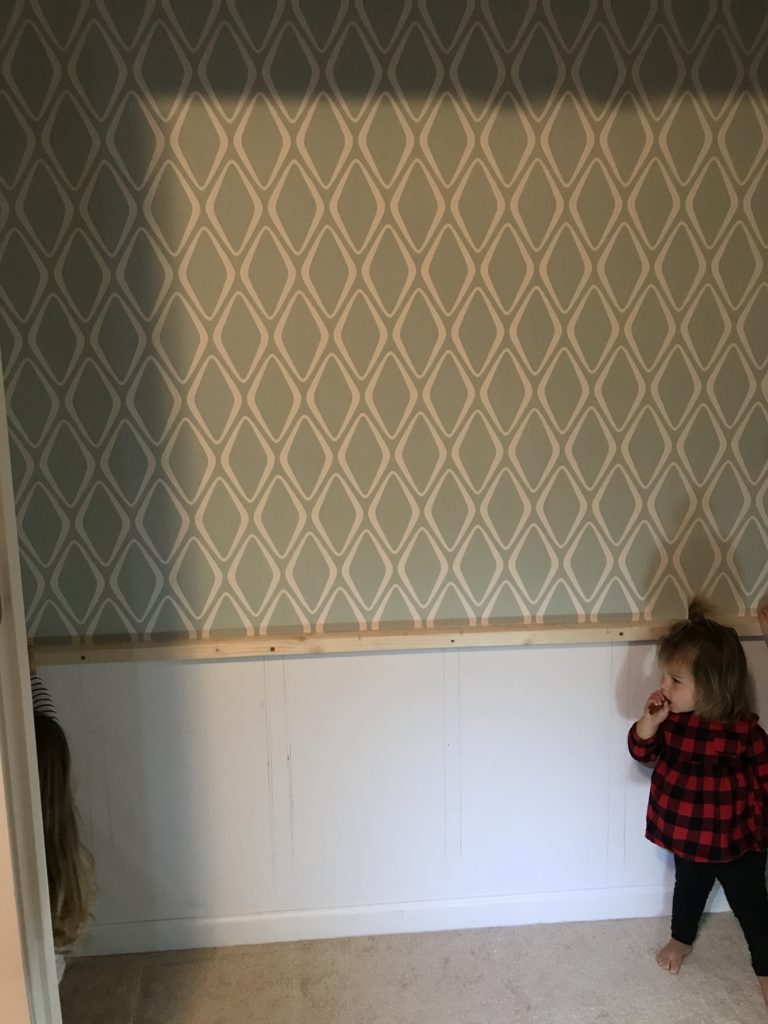
*But mom, can’t we keep it like this? So much more room for activities. *
Then came the shelving. See the husband’s version for more on this.
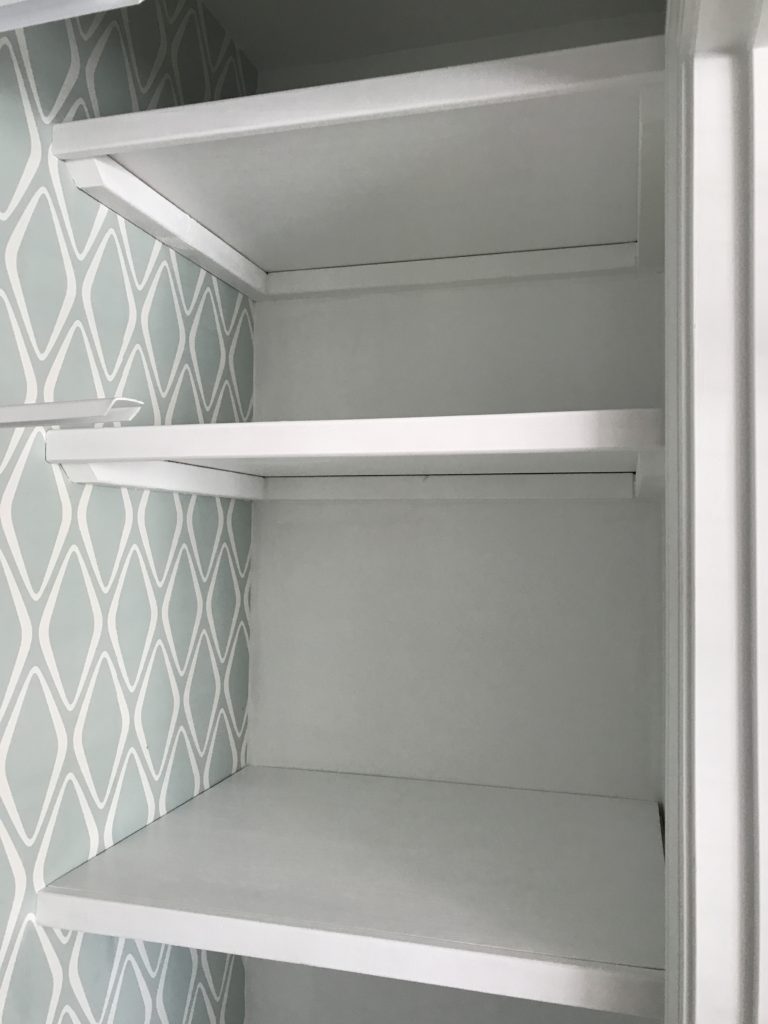
I’m a huge fan of the clean white look.

Things were going great!! Next it came time for the desktop extension. *Cue more head scratching.* The initial thought was to have something that folded down and out. But because I wouldn’t always be using the extension, we didn’t want it to just constantly be in the way. After lots and lots of Pinsearching (Pinterest Researching), I thought I had it all figured out. Something that swung up with legs that folded down. Of course! But no. We realized the legs would not fold the way we wanted them to without bumping the underside of the desk or taking up the storage space I was looking forward to having behind the extension. Dang.
So, then my Dad came up with this.
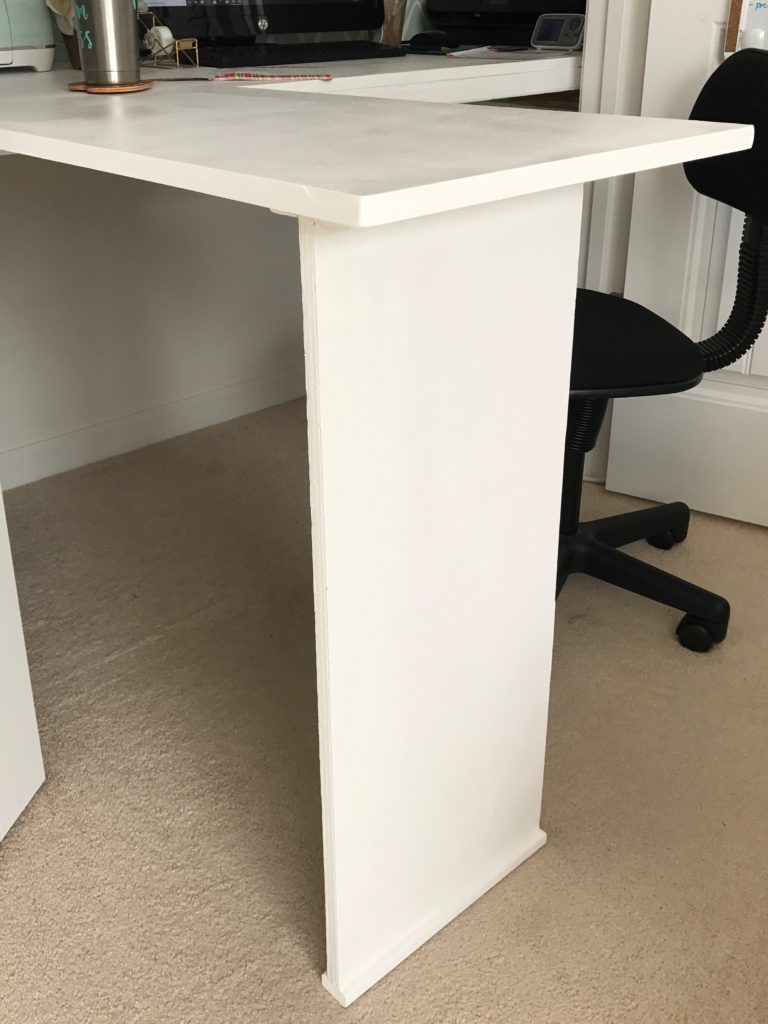
A removable ‘leg’ that can be slid into a slot on the extension. Brilliant. Not my initial reaction, but brilliant. I wasn’t a fan of an extra ‘piece’ lying around but it certainly has proved to be the right decision. As an added bonus, it is a mobile, clean, white surface that I can take to ‘the good light’ when taking pictures of small items. When desktop extensions give you lemons…..
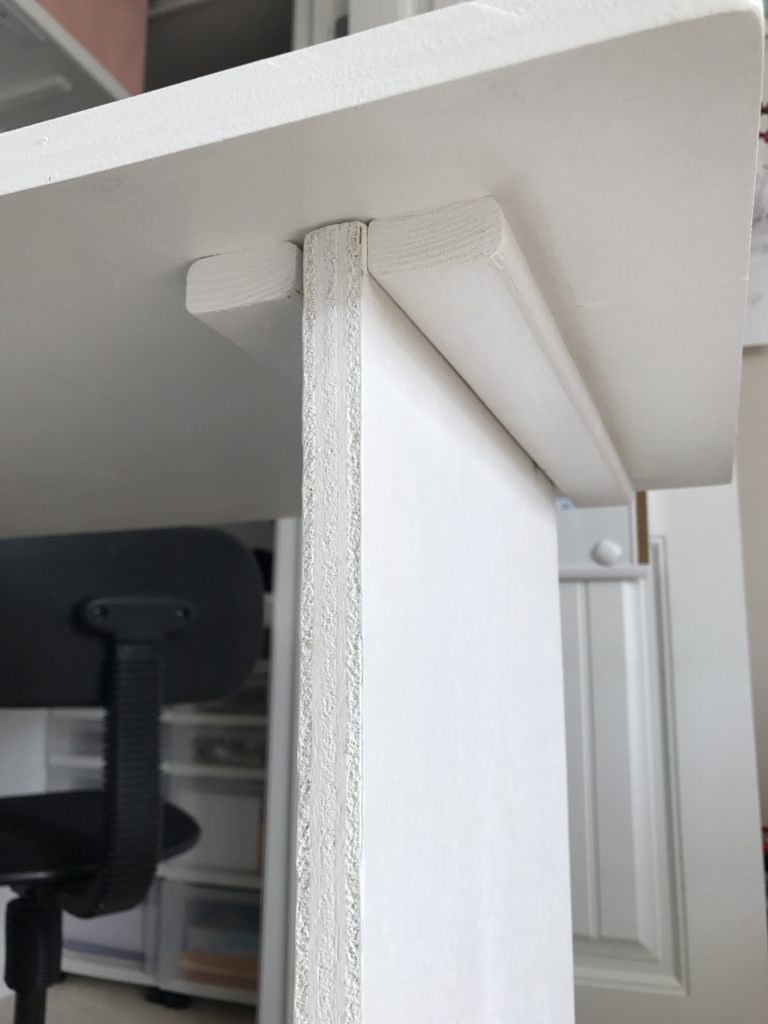
Here is a view from underneath to help you better understand how it works:
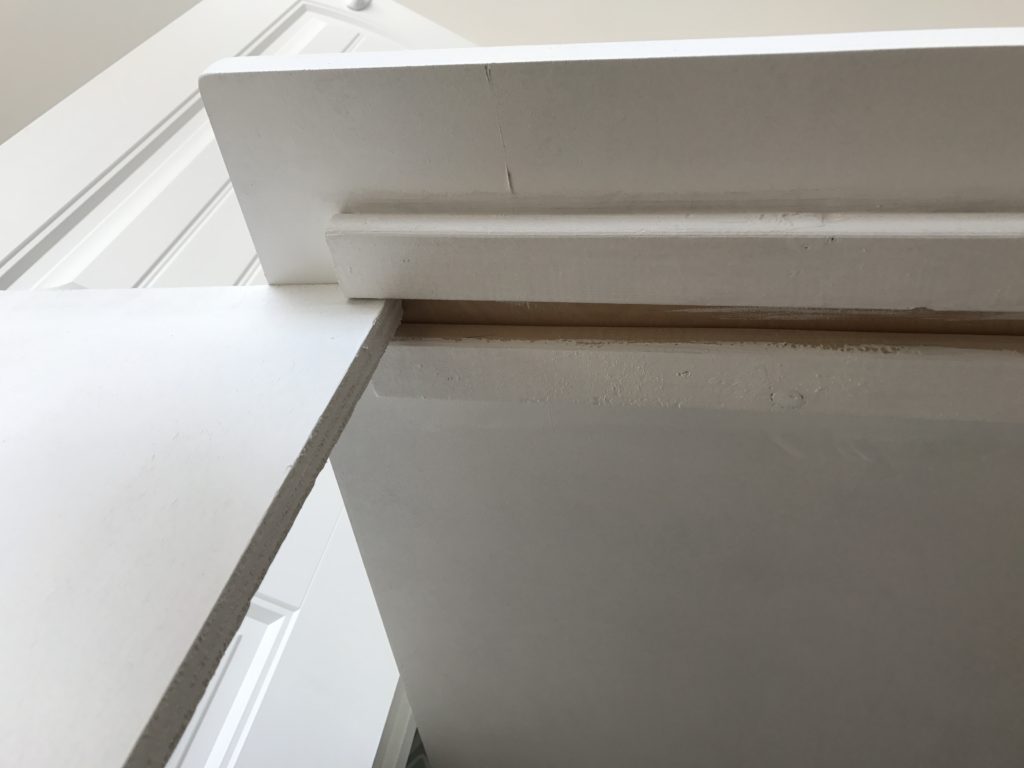
And one from the side:
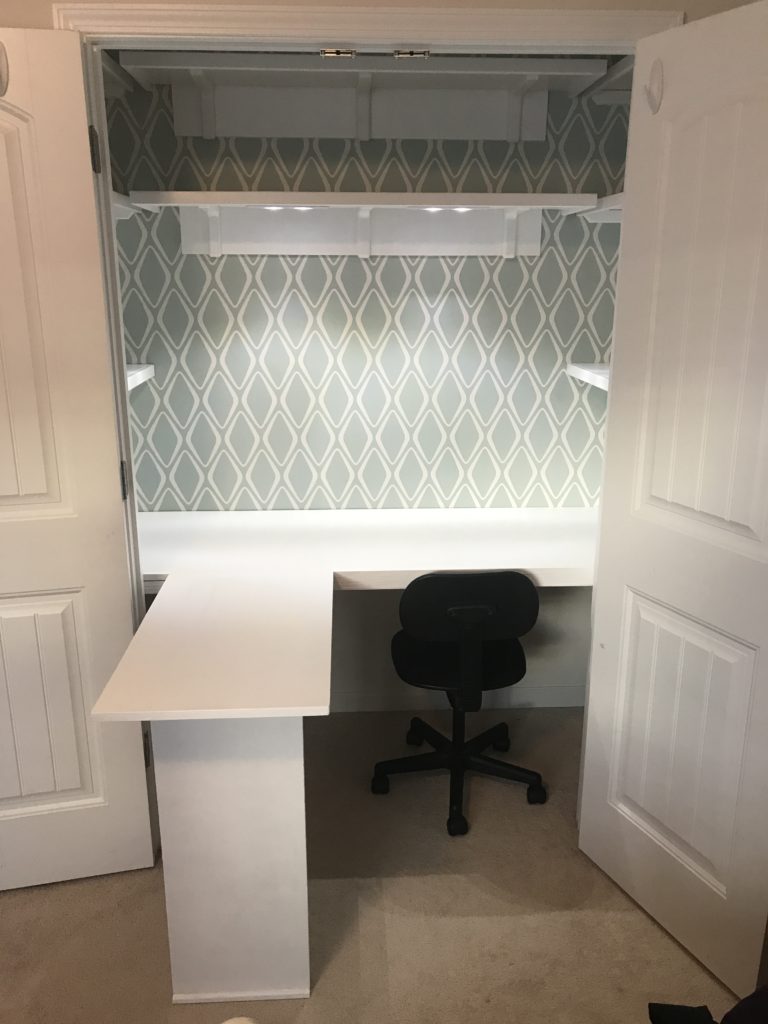
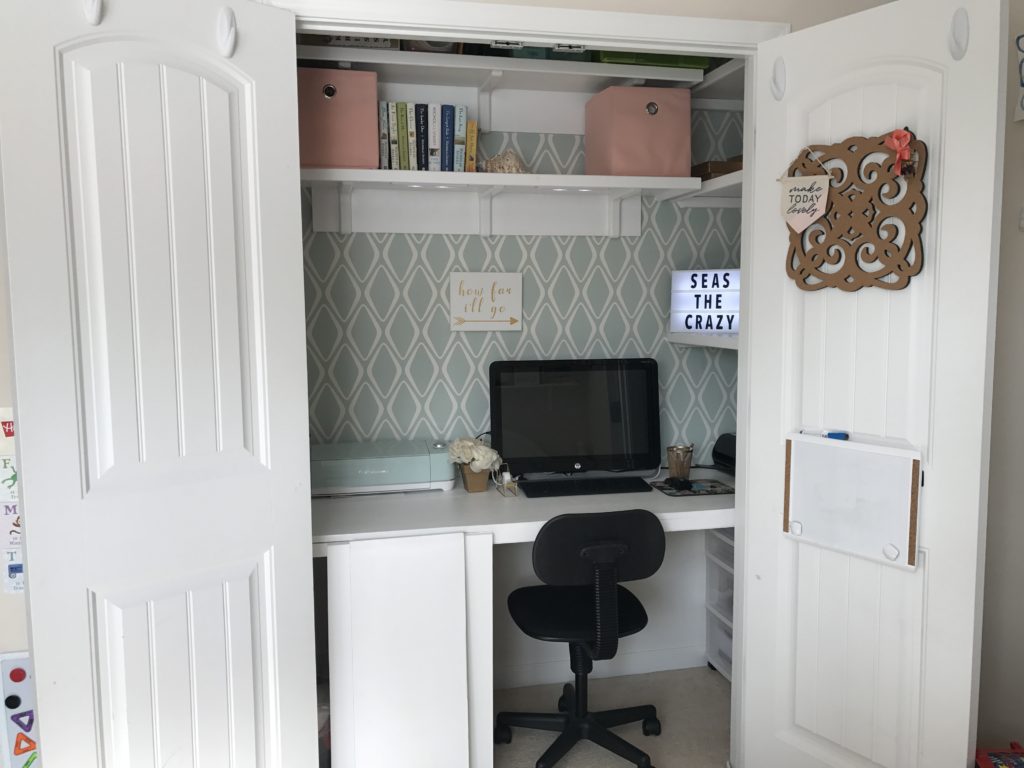
So there we have it! Isn’t she beautiful?! I’m in love. Desktop extension up:
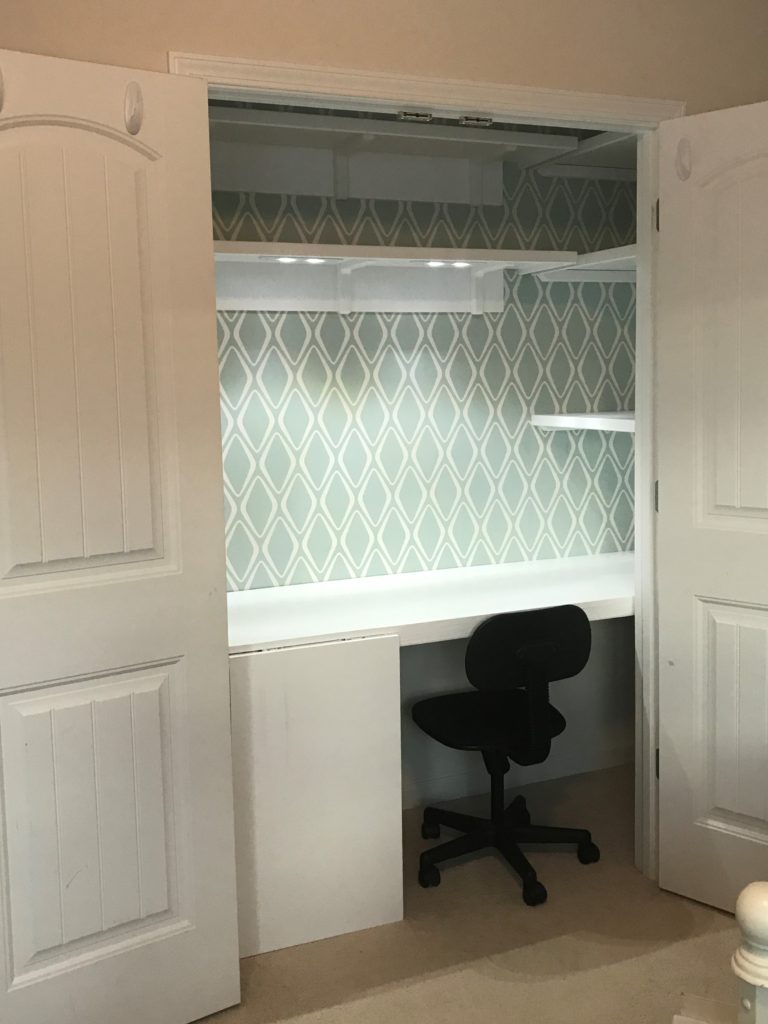
Desktop extension down. With enough room for the chair to be pushed in, and for the doors to close. And lock!
Now it was my turn to play.
The first thing we knew we were going to need in here was light. And no, Dad, we are not tapping into the electric. I was so excited to come across these. Wireless led lights with a switch to be placed at your discretion. Like this. Yes!! It put a nice source of light right where we need it.
And finally, move in day.
I felt just like Joanna Gaines. It was exhilarating. Minus my kids decked out in adorable Matilda Jane dresses bringing me dinner. That didn’t happen. Although at some point I’m sure my naked-besides-a-diaper 1 year old did share a partially chewed animal cracker with me. I’ll take what I can get.
My go-to for a lot of things was storage cubes. One for my crafting supplies and one for my sewing supplies and two more for miscellaneous things. I love this because it is all in one place and can be mobile if necessary. There were some items that fit better in random boxes I had, so to make it pretty I just wrapped them in wrapping paper.
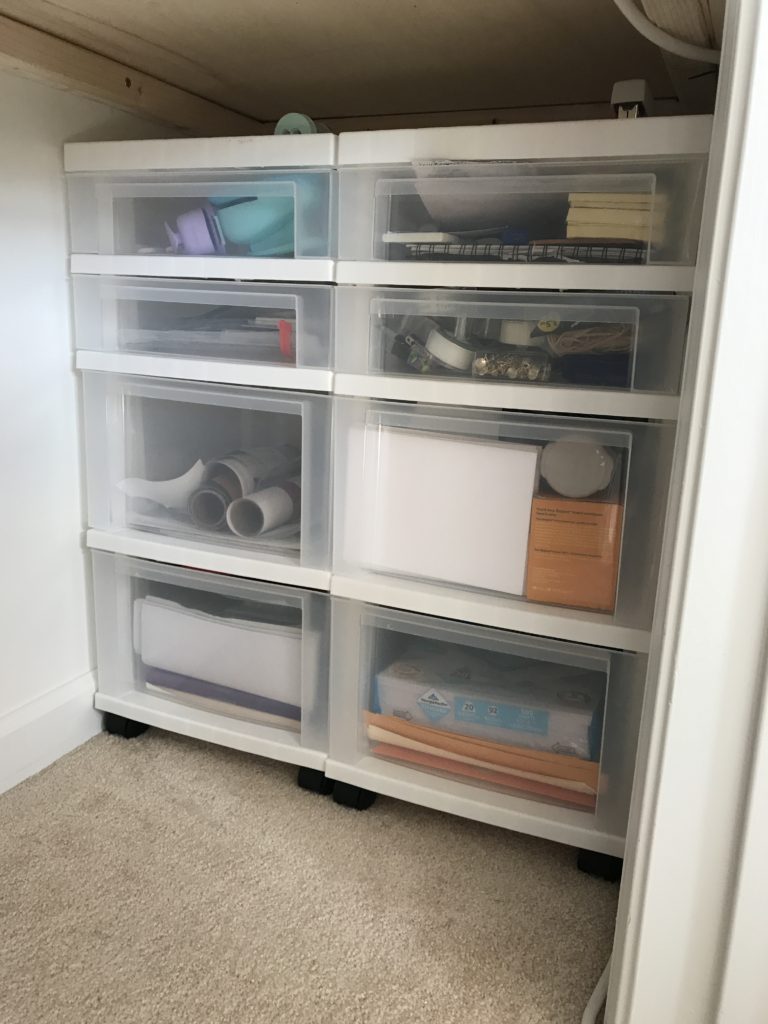
My next favorite organizational find were these rolling storage carts. 2 of them fit perfectly side by side under the desk. 1 for office supplies and 1 for Cricut supplies. The best part is they are light weight and on wheels, so I can just roll them out as needed.
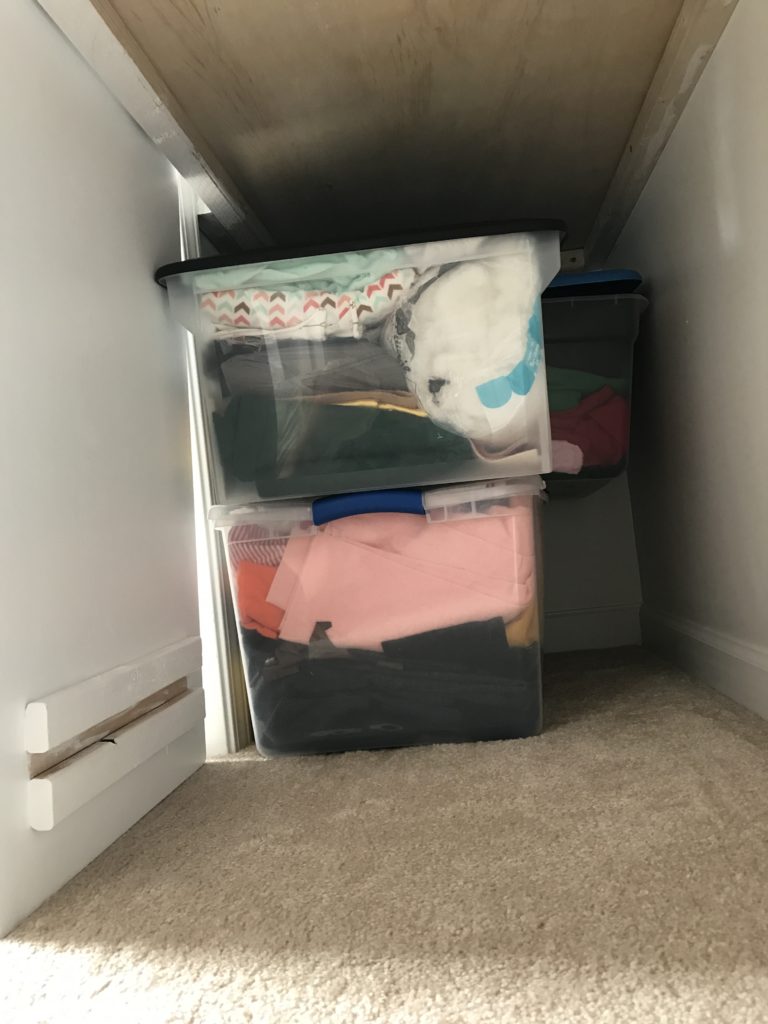
This is certainly not the prettiest of pictures, but underneath the left side of the desk I was able to fit my fabric bins. And thanks to the closed desktop extension, you don’t even know they are there.
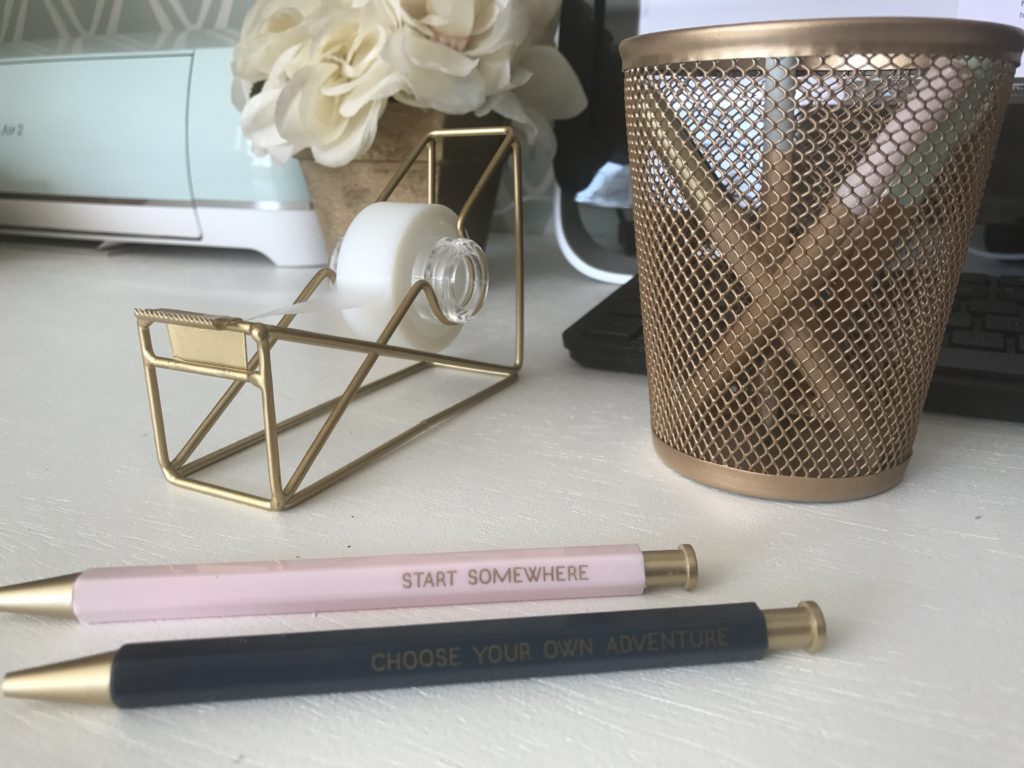
The pen cups were all from the dollar store and spray painted them with gold spray paint to match some other gold accessories. I grabbed these adorable pens, pencils, and tape dispenser recently in the value section at Target.
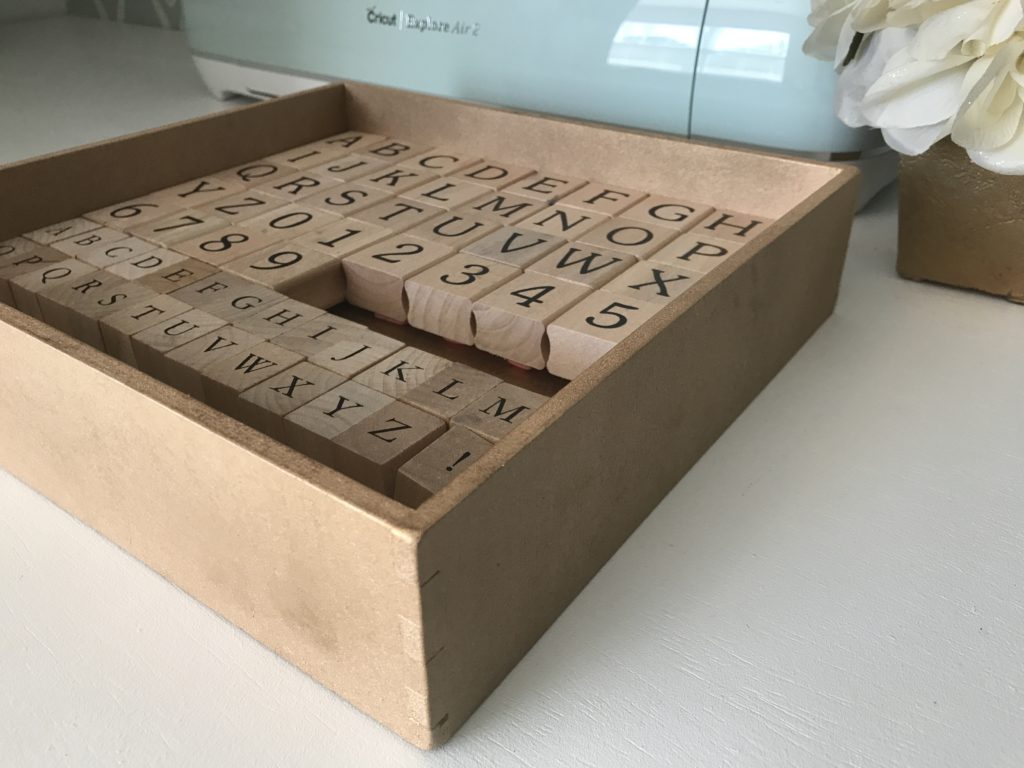
When it came time to find a place for my stamps, I remembered I had a few of these lying around- those great wooden boxes a lot of Melissa and Doug toys come in. {See Honey, I told you I would use them someday!} A little of the same spray paint and as good as gold. Side note: Can I even BEGIN to tell you how happy it made me to put these stamps in perfect order. Ahhhhh. AND what a miracle that every. single. one. survived its previous treacherous living conditions.
What would an office be without a decorative cork board and dry erase board
? I didn’t like how either one took away from my pretty back drop, so on the door they went.
Just a few final touches. The light box was a super fun gift and I was excited to find it a perfect home. My ‘name’ in lights? Sure, why not?!
Now that I had the work space I was DYING to give the Cricut Explore Air 2 a try. I had a white canvas
lying around and had recently come across this fun adhesive foil
in what color other than gold. A little motivation from my girl, Moana, and {*adoring sigh*} my happy place was born.
Just look at her.
Sometimes I just sit here tapping my toes with a stupid smile on my face and appreciate the beauty that surrounds me.
But before that beauty is destroyed by forces greater than Hurricane Matthew, lock those doors!
Wheew, that was close.
Be sure to check out the husband’s blog debut for more details on how it all came together.
Happy for you and your happy place. Great job!